
🎨 How to Create a Custom 3D Portrait: Resin Head + FDM Body for Affordability
Introduction
Are you looking for a unique, personalised gift or a centrepiece that captures someone’s likeness in 3D? A custom 3D portrait is an amazing way to immortalise a moment or a person. By combining a high-detail resin-printed head with a cost-effective FDM-printed body, you get great detail where it matters (the face) and affordability for the rest. This post walks through the full journey: scanning/photos → modelling → splitting head vs body → resin print + FDM print → finishing & painting.
Step 1: Capture the Likeness


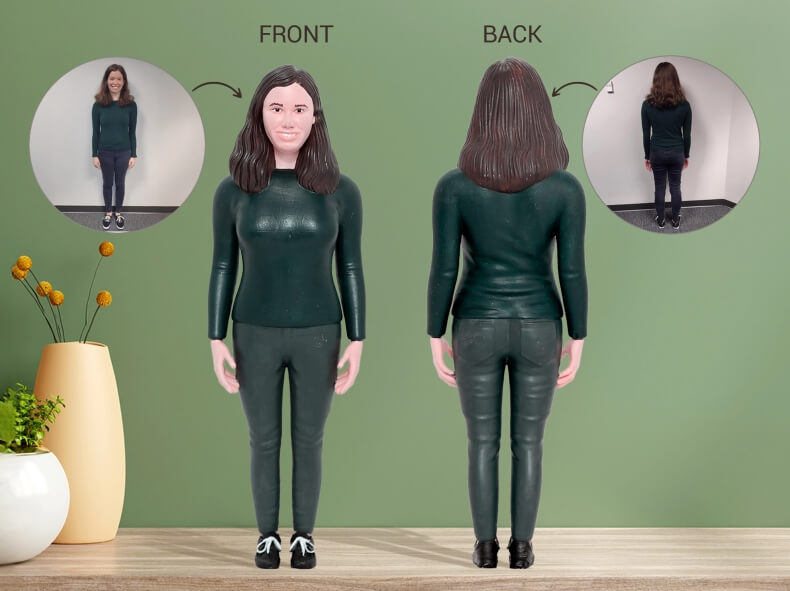
Ask your subject (or customer) for several high-resolution photos: front, left profile, right profile, maybe a slight tilt.
Alternatively use a 3D scanner or photogrammetry app to create a 3D mesh of the head.
Clean up the scan: remove background, align the model upright, fix holes or artefacts in the mesh.
Important: since we’ll print the head in resin (for high detail), ensure the head geometry is high-res (fine facial features, ears, hair).
Step 2: 3D Modelling & Splitting Head + Body
Use 3D modelling software (eg. Blender, ZBrush) to sculpt the body or customise the pose. The head from the scan is merged or attached to the body part.
Decide the split: Head = resin (more cost, more detail), Body = FDM (lower cost, simpler).
In the model: create a clear joint interface between head and body so they fit precisely during assembly.
Prepare the body for FDM: design thicker walls / simpler geometry (no ultra-fine detail) so printing and finishing is faster and cheaper.
Step 3: Printing the Head in Resin


Resin printing (SLA/DLP/LCD) gives high detail: perfect for the face, hair texture, expressions.
Print the head with fine layer height (e.g., 0.05 mm or less) and good supports.
After printing: wash (remove resin residue), cure (UV light), remove supports carefully, sand any support marks.
Inspect for fine details: eyes, nose, mouth, eyebrows. If very high fidelity needed, you might refine further by hand.
Step 4: Printing the Body in FDM

FDM printing is far more cost-effective for larger volume parts like the body, clothes, base.
Use PLA or PETG, larger nozzle (0.4-0.6 mm) for faster build.
Set infill at moderate levels (20-30 %) and wall thickness for durability.
After printing: remove supports, sand major layer lines, fill any gaps or seams with epoxy or primer.
Step 5: Assembly & Seam Finishing
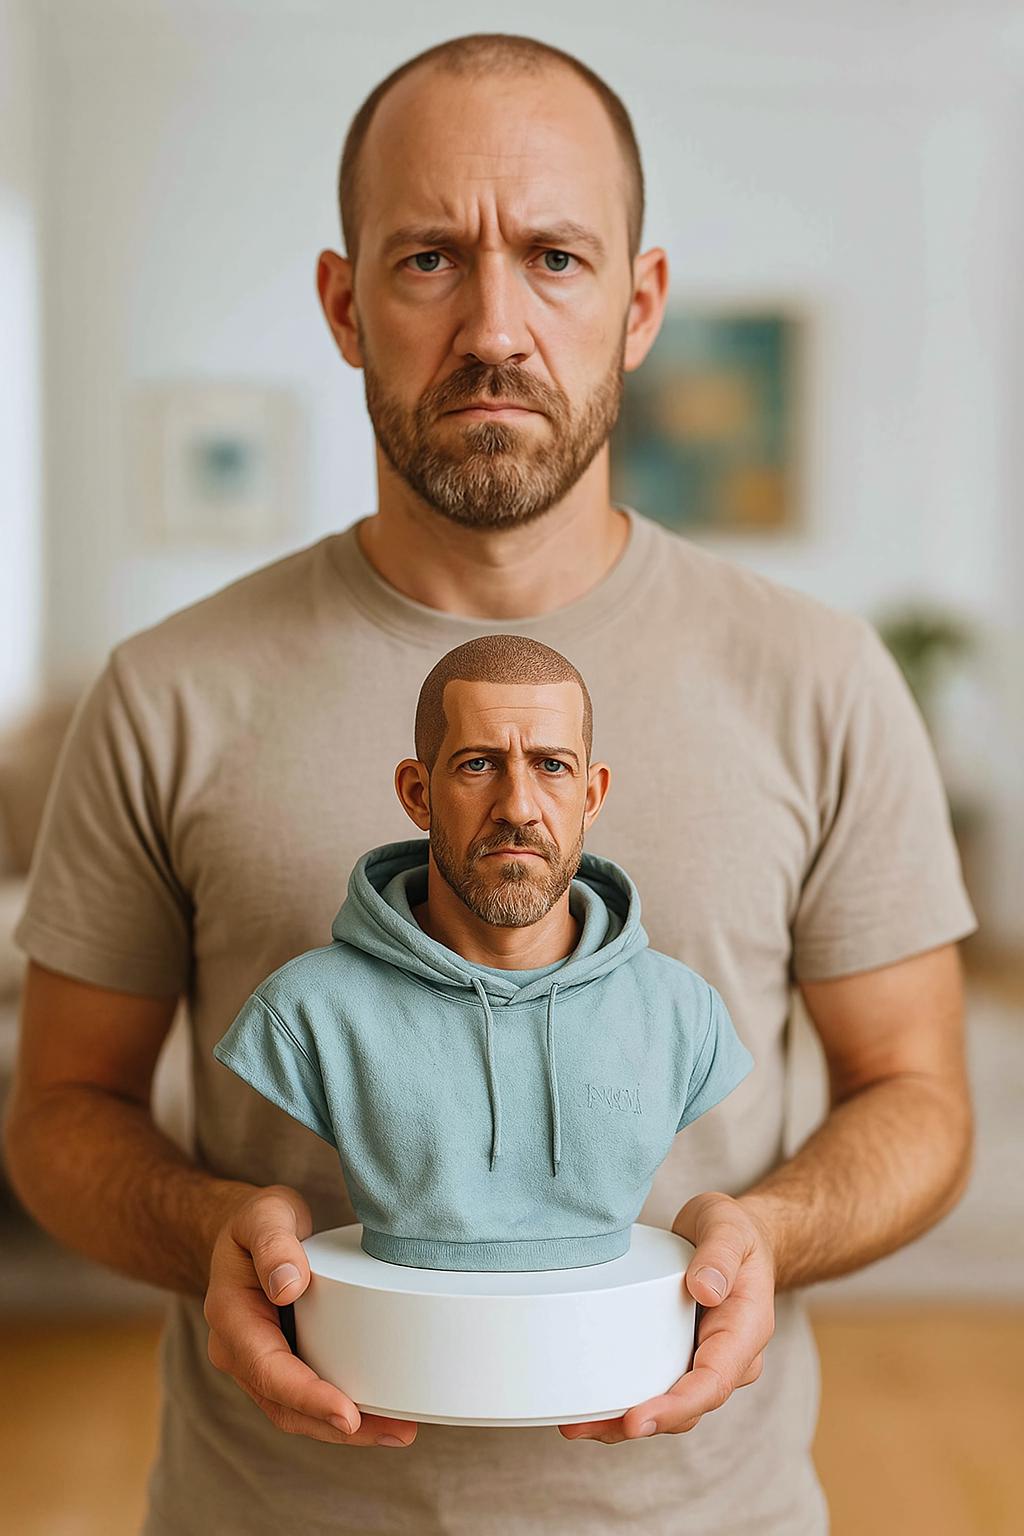

Dry-fit the head onto the body. Make sure the joint is snug.
Use strong adhesive (epoxy) to attach the head to the body.
Fill the seam visually (with putty or filler) and sand smooth. Prime the whole figure with a suitable primer to unify surface and prepare for painting.
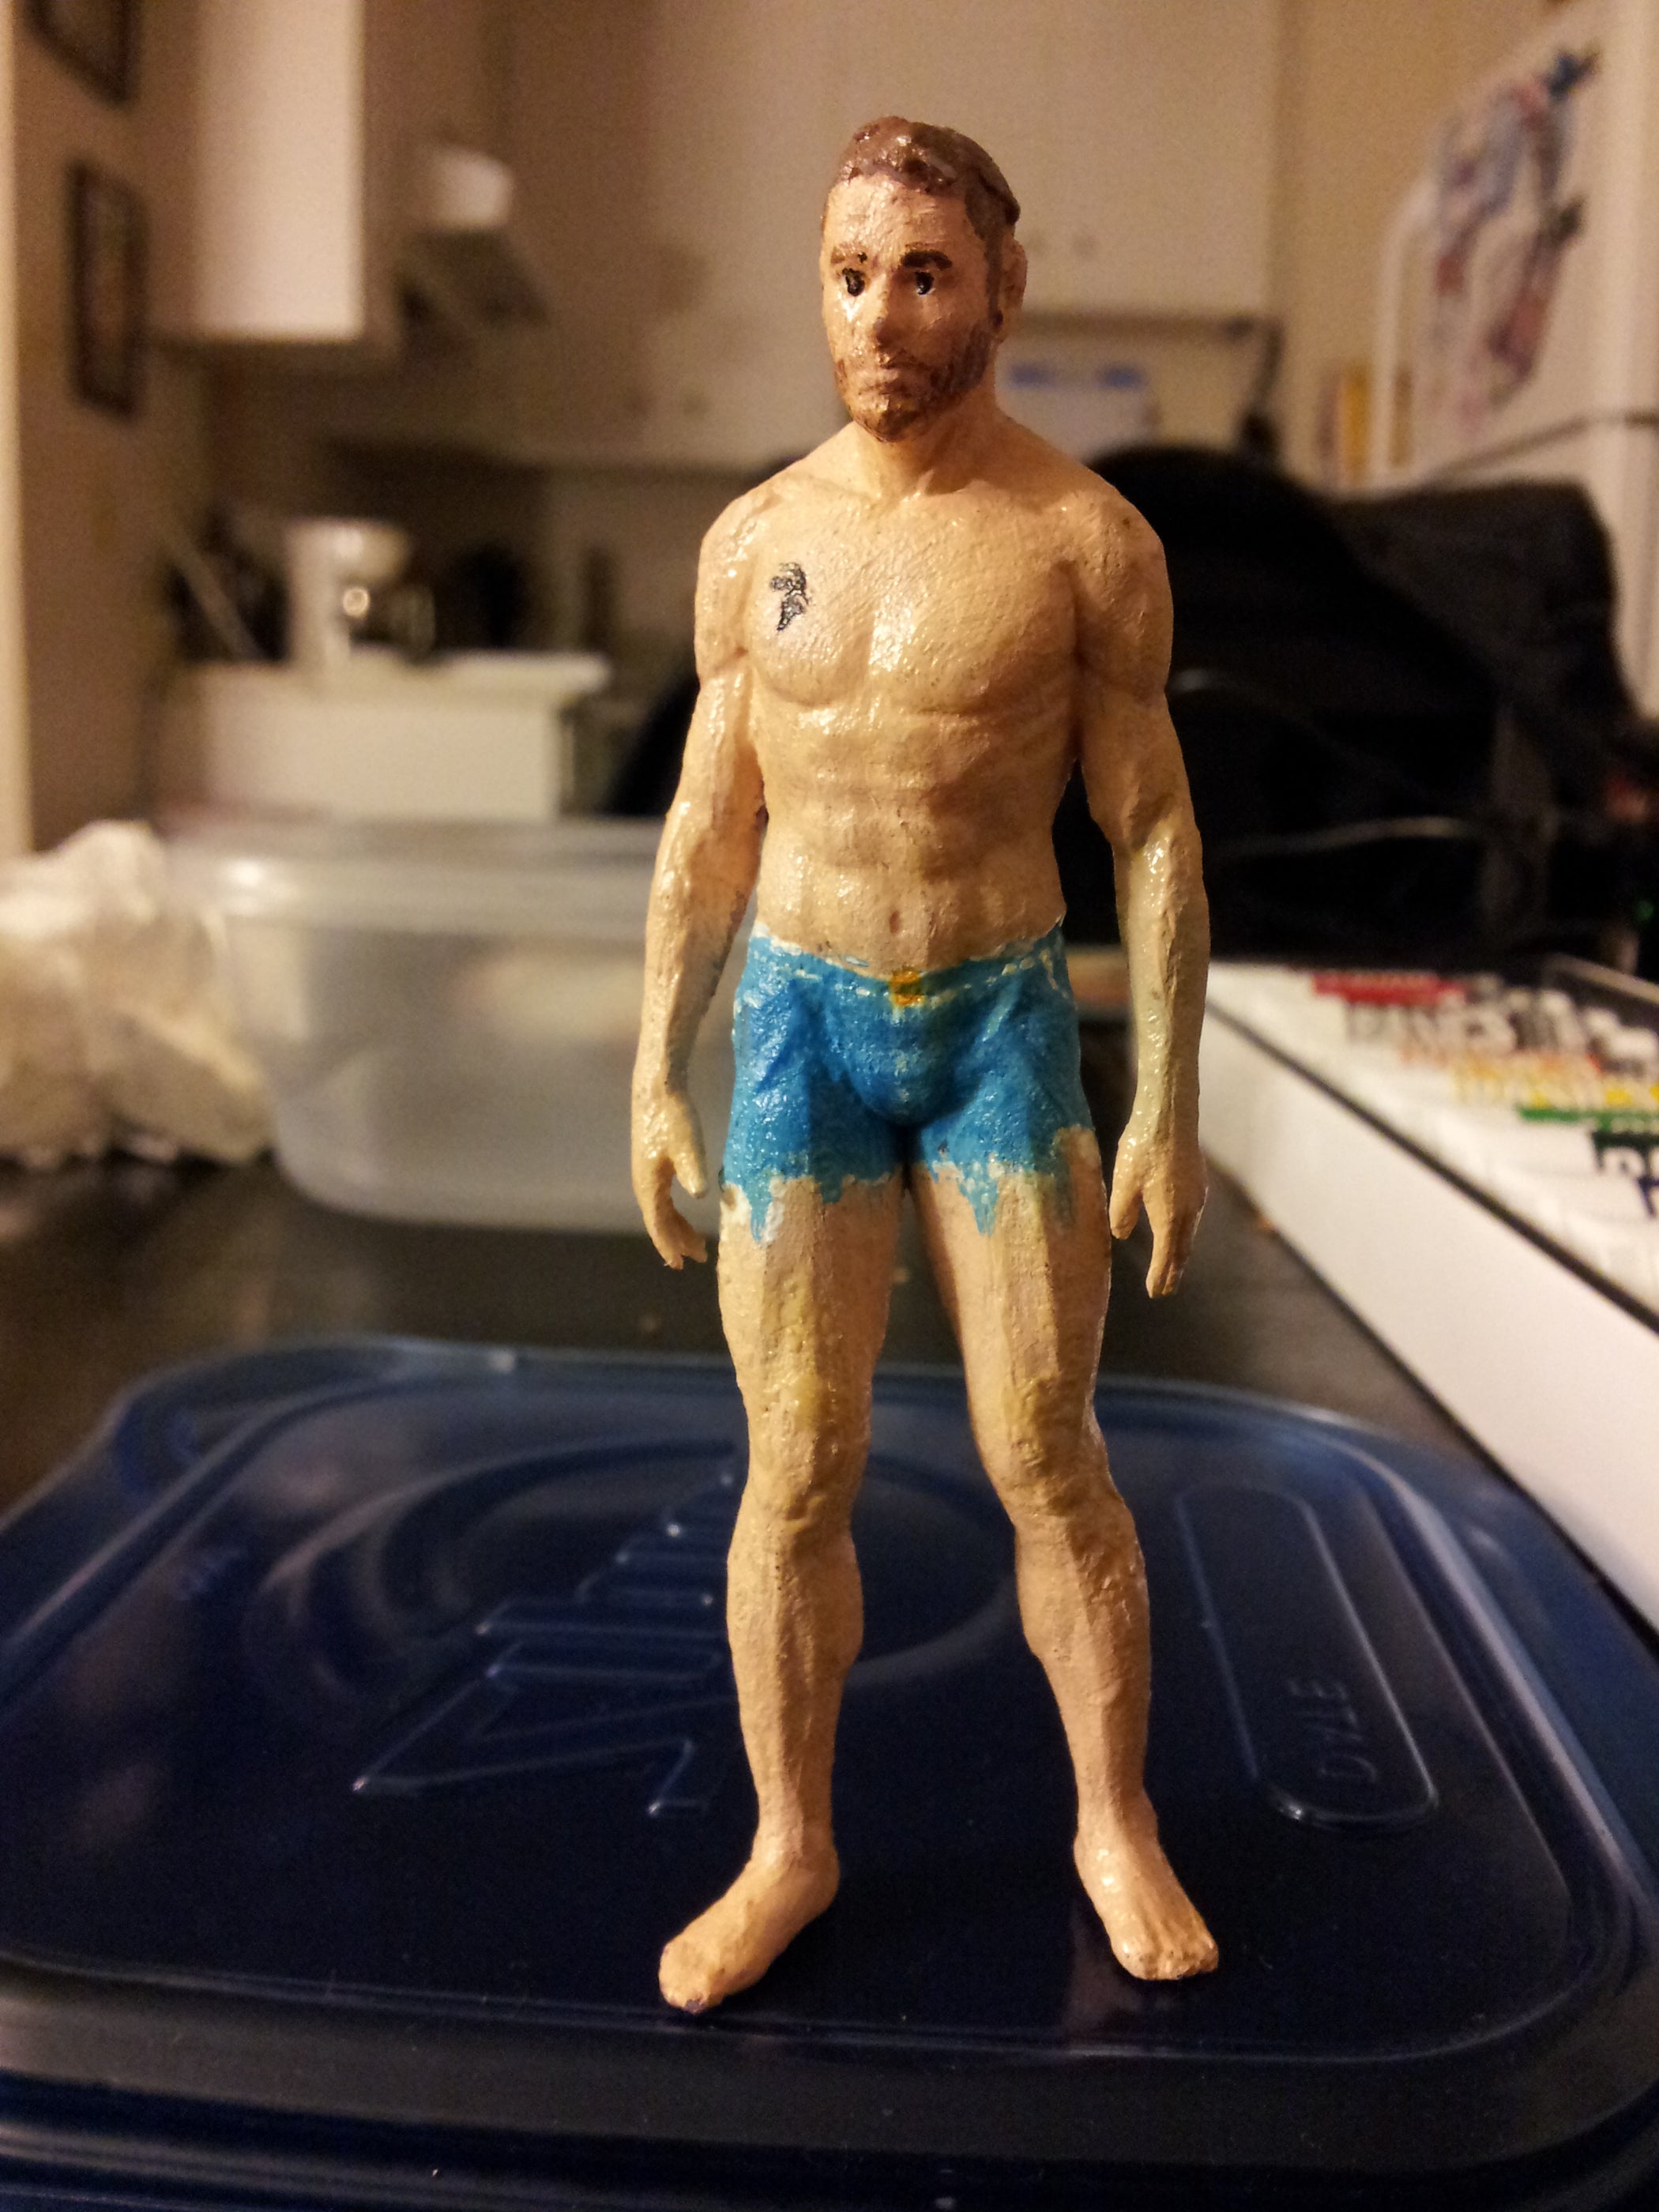
Step 6: Painting Process & Finishing

Start with a base coat: usually grey or white primer to give even surface.
For the face/head: use fine brushes or airbrush to apply skin tones, shadows, highlights, eyes, lips.
For the body/clothes: choose colours as per reference (photo or design), add shading and detail (buttons, textures).
Seal with a clear varnish (matte or satin) to protect the paint.
Optionally mount on a custom base (wood, acrylic) with name plate for premium feel.
Step 7: Quality Check & Delivery
Inspect the final piece: look for paint smudges, seam lines, unstable joints.
Photograph the finished product (for marketing) from multiple angles.
Package carefully: use bubble wrap, foam protection, and strong box to prevent damage during shipping.
Include care instructions: keep out of direct sunlight, dust with soft brush, avoid dropping.
Why This Hybrid Approach Saves Cost
Resin printing is expensive per cubic cm but yields exceptional detail.
FDM printing is cheaper for bulk volume and less detail-critical areas (clothes, base).
Splitting the head to resin and the body to FDM means you get high fidelity where it matters and cost savings elsewhere.
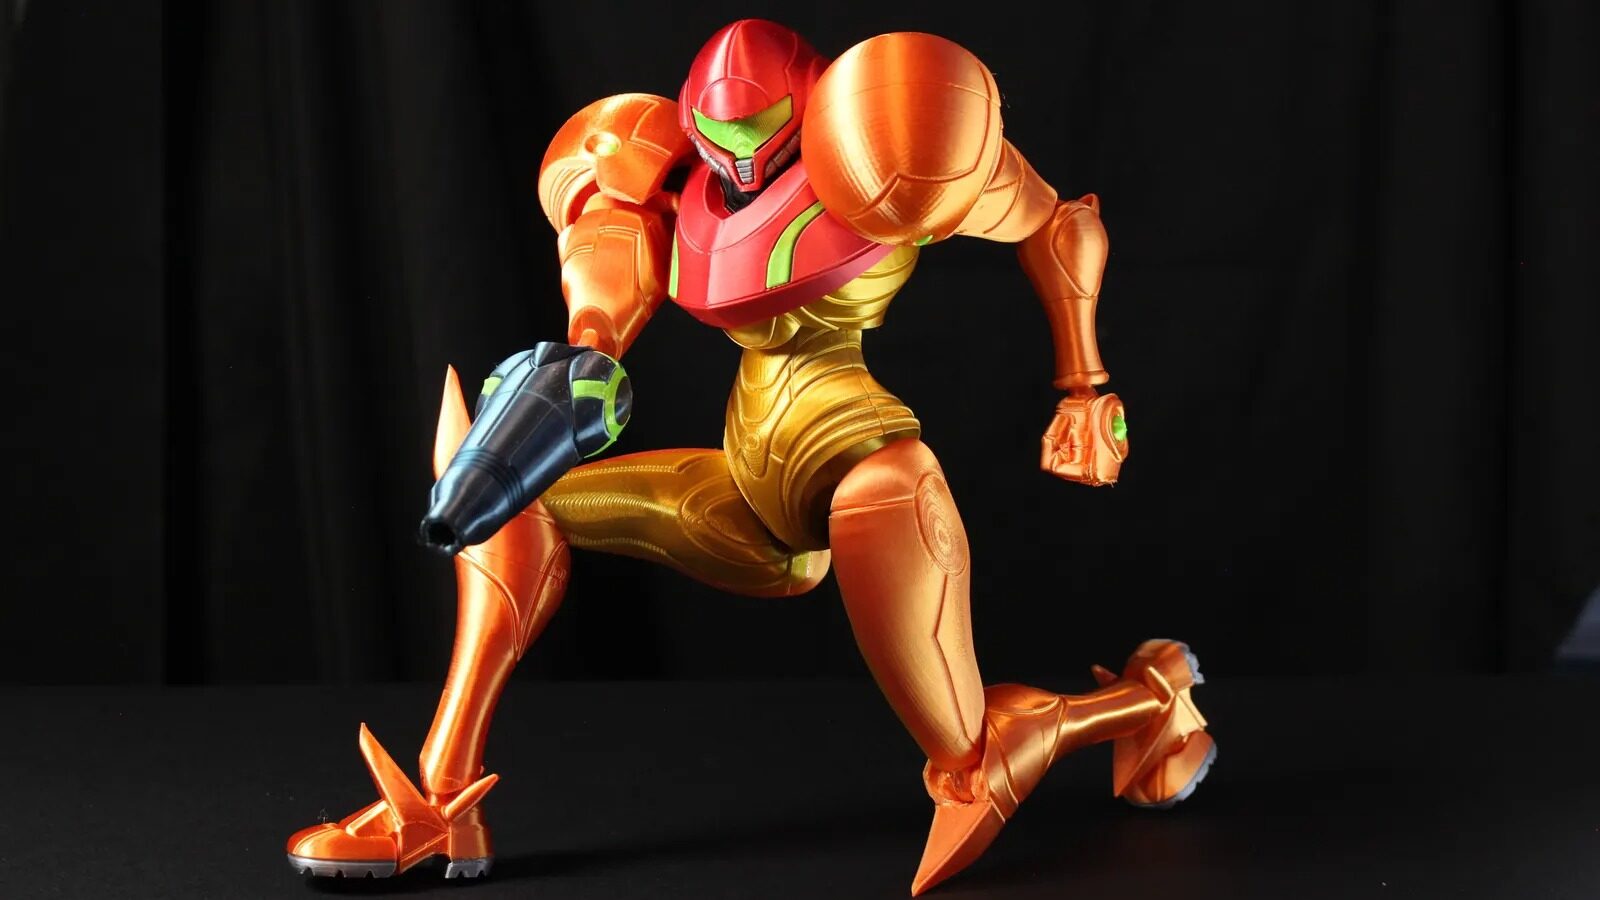
You can scale body size larger (for display impact) without blowing your budget.
Tips & Best Practices
Request very clear reference photos (especially for face) for best result.
When modelling, design the joint so the head can be removed if needed (for repair or shipping).
Use good quality resin and post-processing for the best facial detail.
In FDM, optimise orientation and supports to reduce visible layer lines.
In painting, thin layers build better texture; patience is key.
Always test fit head-to-body before final glue.
Offer customisation: name plates, pose changes, props. This increases perceived value.
Conclusion
A custom 3D portrait (resin head + FDM body) is an incredible offering: personalised, visually striking, and competitively priced. Whether it’s for a gift, a keepsake, or a display piece, this process gives you the best of precision and affordability. Start capturing those moments, sculpting, printing and painting — and bring a cherished likeness to life in 3D.
Leave A Comment